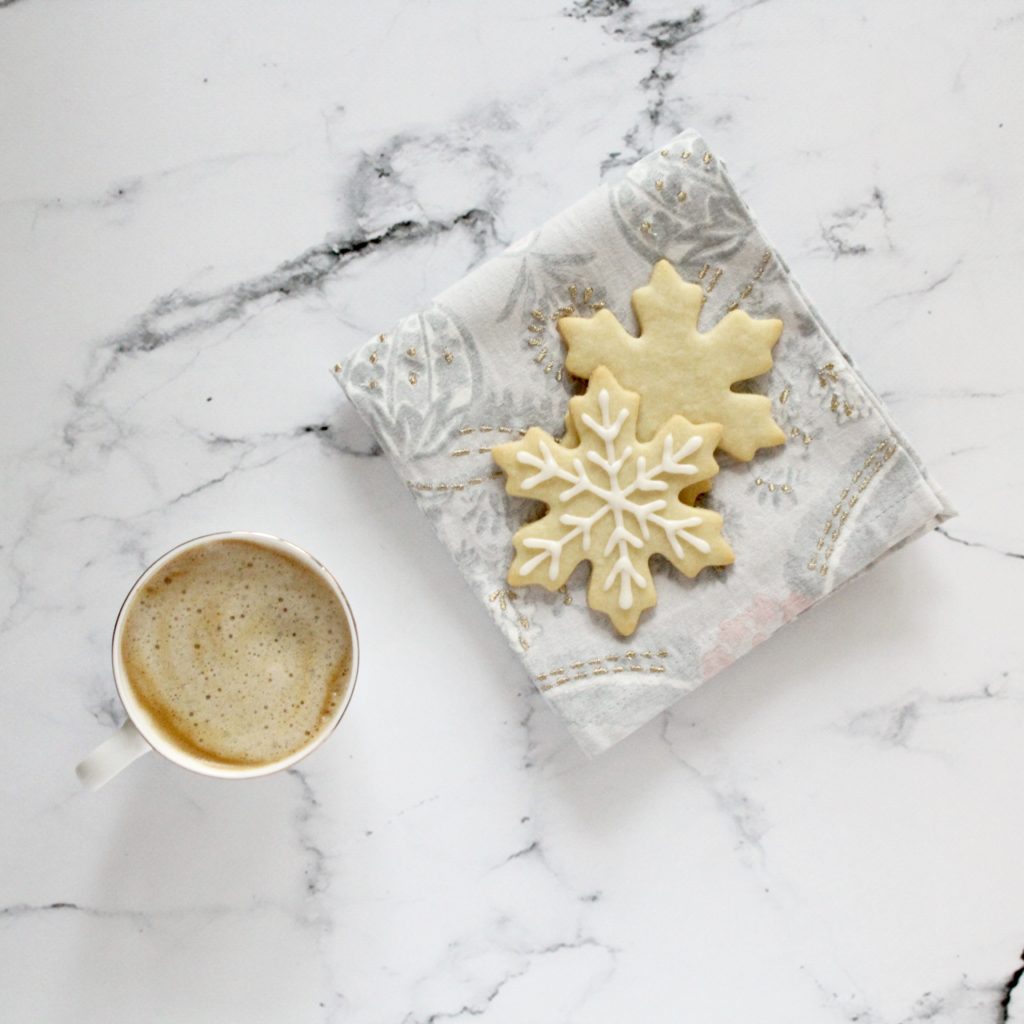
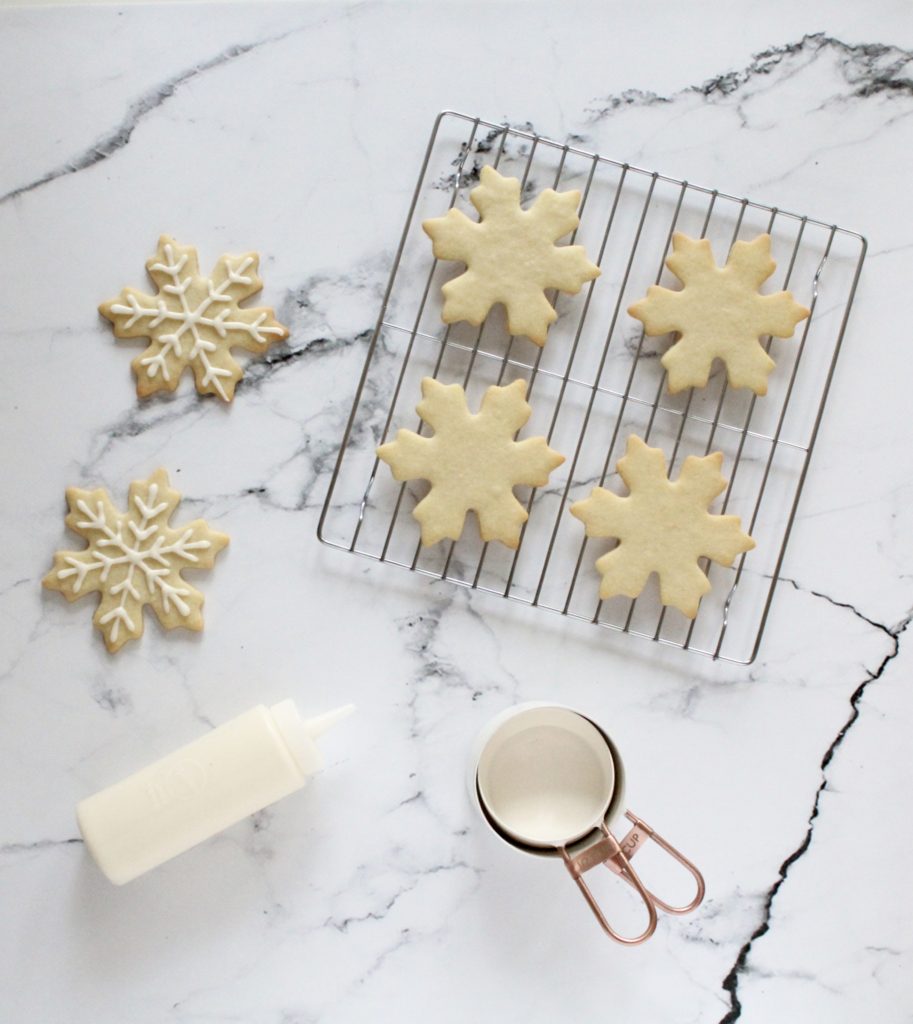
The Holidays are for baking and decorating cookies. When it comes to choosing which cookies are best to decorate, I have to say it’s a toss up between Gingerbread and Sugar, and I usually alternate between the two. This year, it was Sugar Cookies turn. The recipe below is one of the best and easiest recipes I’ve come across for cut-out sugar cookies, and best of all it can be made ahead and frozen for up to a month.
Ingredients
1 cup unsalted butter, softened at room temperature for 1 hour
2 ounces cream cheese, at room temperature
1 cup sugar
1 large egg
1 teaspoon pure vanilla extract
1/2 teaspoon almond extract
1 teaspoon lemon zest
3 cups flour
1 1/2 teaspoons baking powder
1/2 teaspoon salt
Directions
In the bowl of a stand mixer (or in a large bowl, using a hand mixer), cream the butter and cream cheese with the sugar. Beat for several minutes, or until light and fluffy. Beat in the egg, vanilla and almond extracts, and lemon zest.
Mix the flour, baking powder, and salt in a separate bowl then gradually add to the butter and sugar mixture until fully incorporated and a soft dough is formed.
At this point the dough can, and should be, chilled or frozen. If making cookies in the near future, divide the dough into 2 balls and roll each out to 1/4 to 1/8-inch thickness between large pieces of parchment paper. Refrigerate for at least 1 hour. Or freeze the dough balls, wrapped in plastic wrap and a freezer bag, for up to 1 month. To thaw, leave in the refrigerator overnight then proceed with the recipe.
To bake the cookies, preheat the oven to 350°F and prepare baking sheets by lining them with parchment or a Silpat. Cut cookies out of the rolled dough and place on the prepared baking sheets.
Bake cookies for 8 to 12 minutes, depending on thickness. Let cool for 5 minutes on the cookie sheet, then remove to a wire rack.
Cool completely before icing or decorating, and store in a tightly covered container.
Icing
Ingredients
1 cup powdered sugar
1/2 teaspoon vanilla or other flavoring extract
2 1/2 – 3 tablespoons milk
Food coloring, optional
Directions
Mix together the powdered sugar, vanilla, and 2 tablespoons of milk using a spoon or a fork. It should be quite thick, and if you drizzle a little from your spoon, the ribbon should hold for a few second before melting back into the icing. It should be just thick enough to pour easily. If desired, add food coloring now.
I discovered using squeeze bottles instead of piping bags on The Kitchn and haven’t looked back since, it’s so much better than using a piping bad! Insert the funnel in the mouth of one of the squeeze bottles. Spoon some of the icing into the funnel and let it drip into the bottle. Since this icing is thick, it can be difficult to get it to drop into the bottle — you can squeeze the bottle to suction the icing and start it flowing. If it still won’t start flowing, add more milk one teaspoon at a time until just barely thin enough to pour (be careful of adding too much or else the icing won’t hold it’s shape). Once flowing, it can still take a few minutes for all the icing to funnel into the bottle. Replace the lid and begin decorating cookies. Allow the icing to dry completely. Once dry, you can stack the cookies between sheets of parchment paper in an airtight container at room temperature for several weeks. The icing can be kept for several days in the squeeze bottles. It’s best to store the unused icing in the fridge and let it warm to room temperature before using.
Recipe from www.thekitchn.com

