There are so many aspects of design and decor I love, but a definite front runner is creating Gallery Walls. I love curating a variety of artwork, diverse frames, and whatever else peaks my interest in unique and creative ways.
Most of the time I have a jumping off point, something that has inspired me – my muse if you will. And then the story develops from there – I like to think of my walls as story tellers – the love of travel, good food, family, connection, colour, creativity, etc.
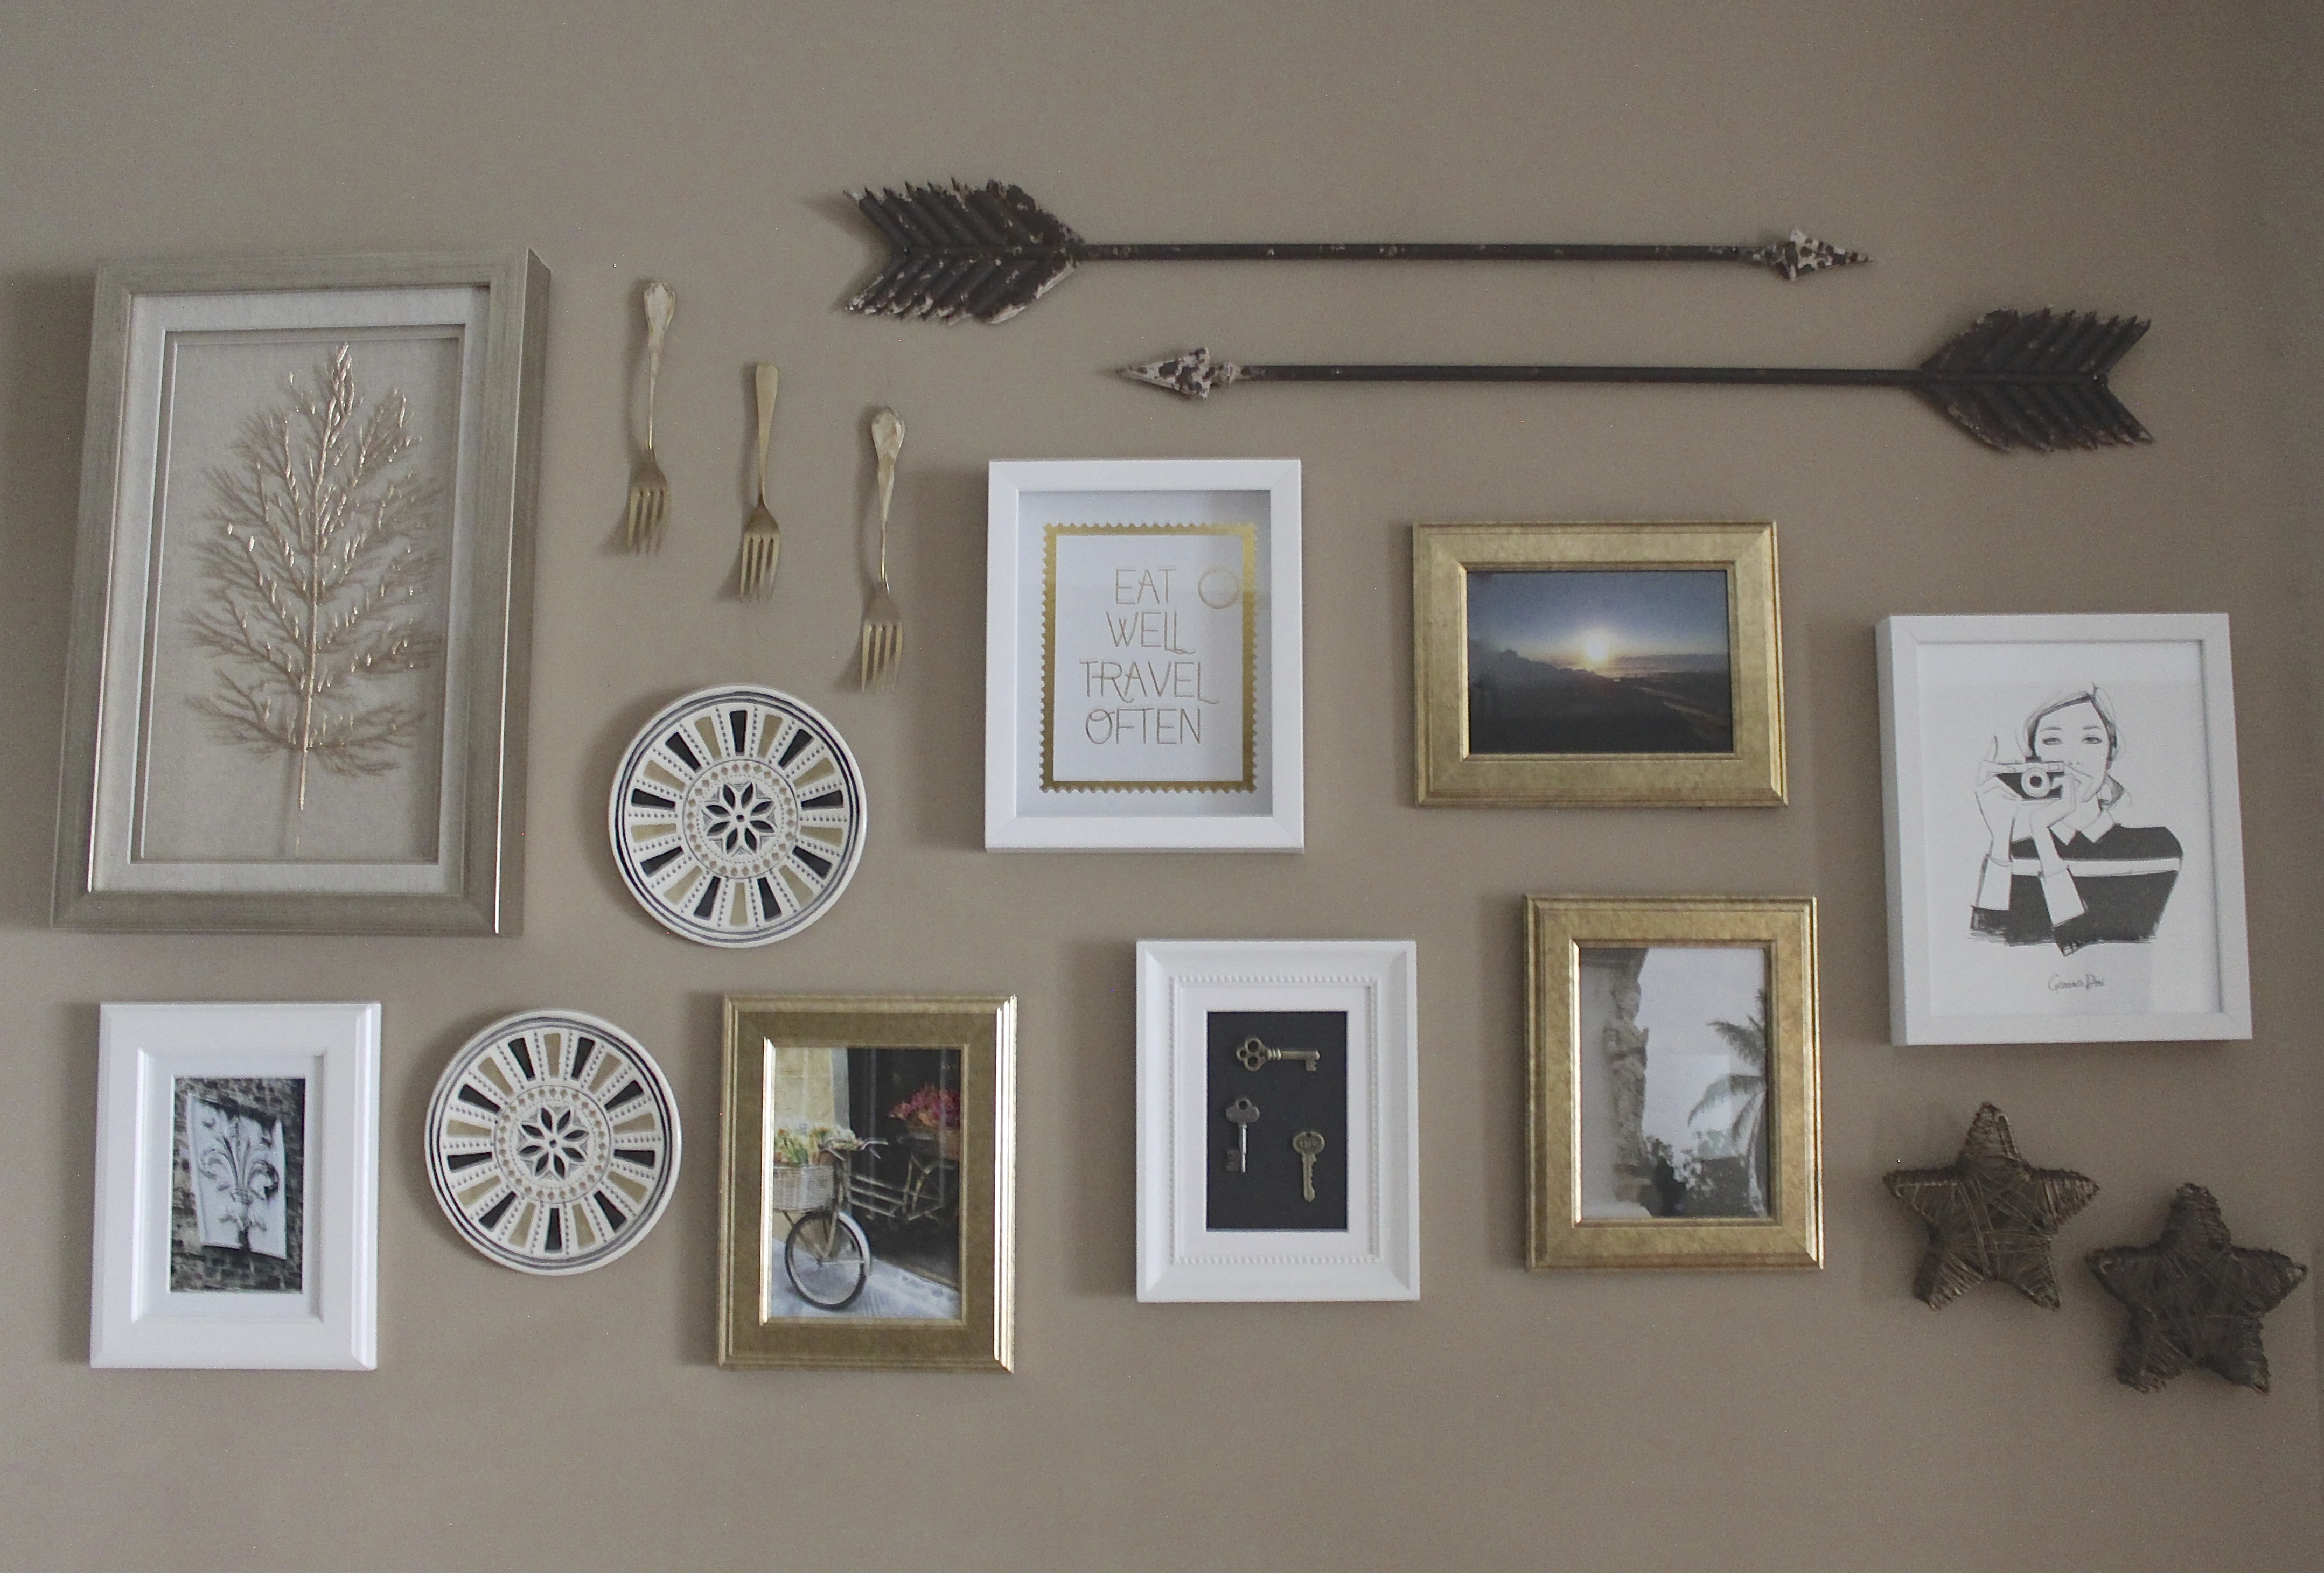
For the above wall, I was definitely inspired by the gorgeous Metal Farmhouse Arrows from Painted Fox Treasures, click here for your own set and the beautiful UASHMAMA hanging forks I found at Le Sorelle in Lucca, Italy.
If you’ve been following me for any amount of time, you’ll know I love incorporating some DIY into everything I do – here I created a custom piece of art using simple keys I found at a craft store, gluing them onto a black background and framing them. Thoughtful, creative and one of a kind.

Before starting any wall, it’s a good idea to map it out – this can be on the floor or with paper and tape as I’ve done below.

Then, take a deep breath and dive in. Don’t worry about messing up, holes can be easily patched up or hidden by other pieces going up. The old saying measure twice, cut once, works here too – except rather than cutting we’re hammering. The only rule I like to adhere to when it comes to putting up gallery walls is to have an equal distance between frames and objects, doing so creates a much better look visually.

Happy curating and creating! I’d love to see what you come up with!