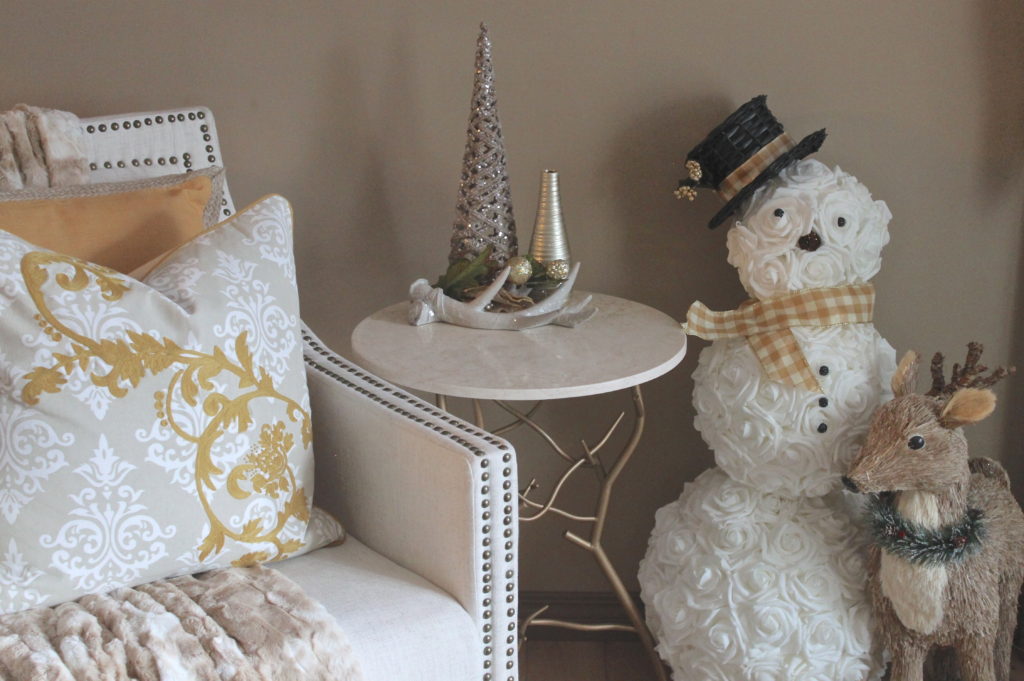
As temperatures plummeted here in Calgary, I decided to spend the weekend inside getting crafty with Frosty!
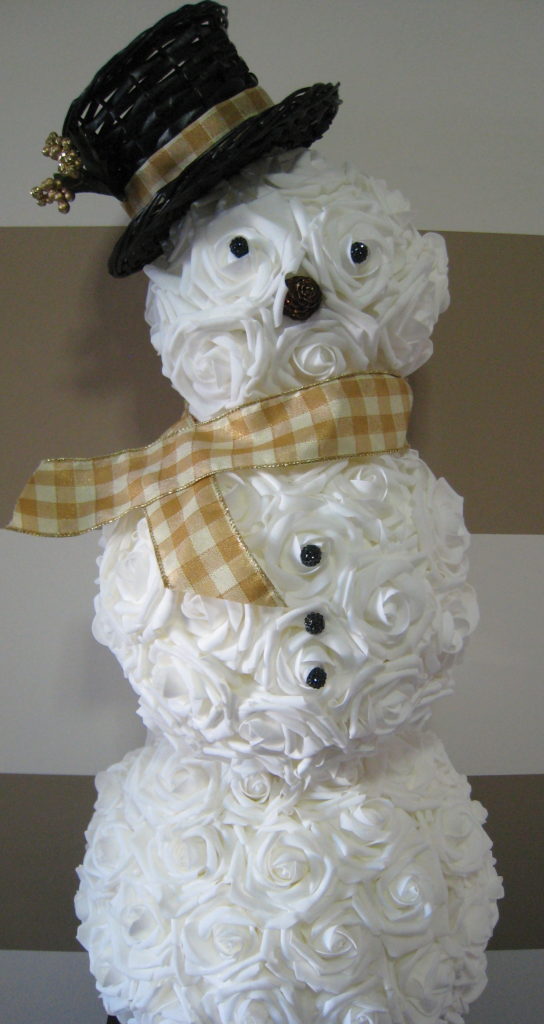
This elegant version of Frosty the Snowman, a childhood classic, is super easy to make!
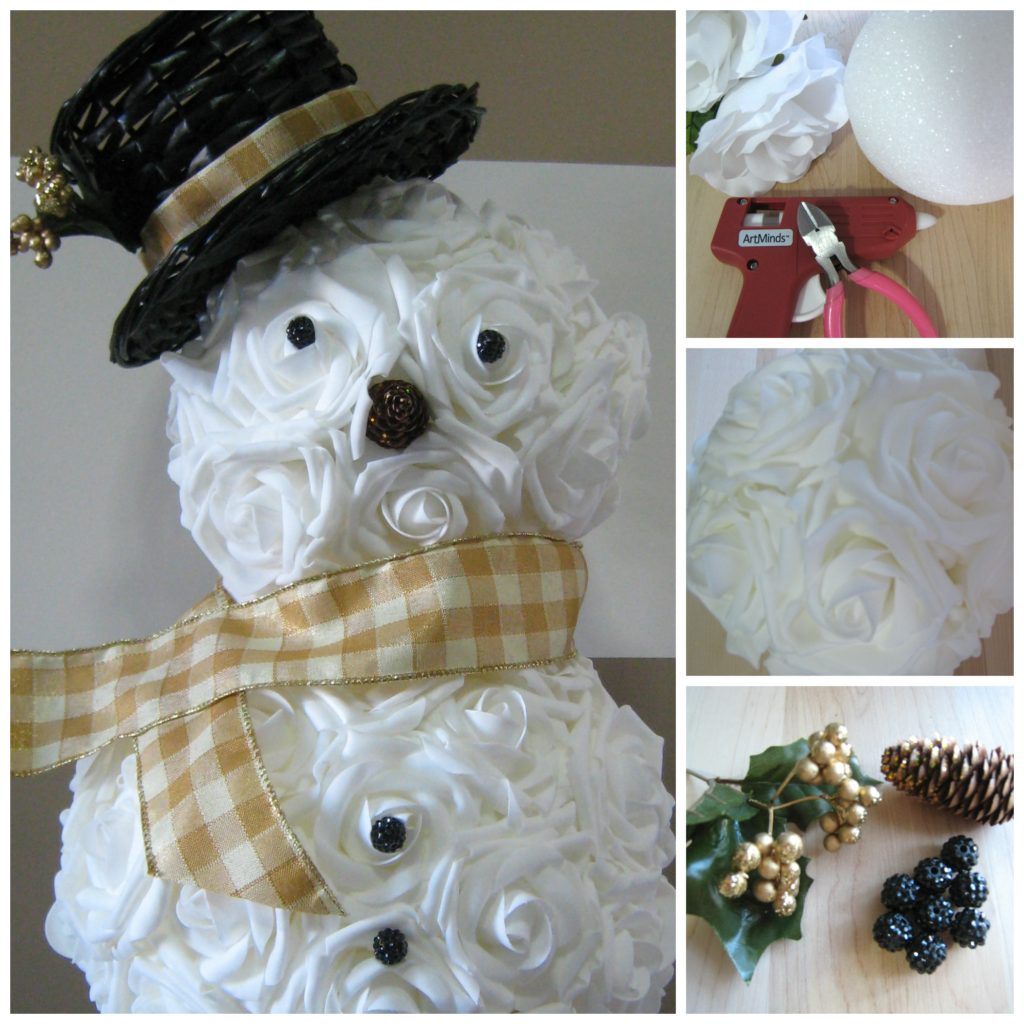
I started out with three Styrofoam balls of three different sizes. I choose to use artificial white roses, but the sky’s the limit here – you can use any flower you’d like and any color you’d like! You may be able to have your craft store order your flowers for you ahead of time, that way you’ll ensure you have enough and you may even get a bit of deal for buying in bulk! Simply snip off the stems and start filling the balls in with the flowers, I like to pack them in quite tight, it gives Frosty a fuller, more lush look.
Now it’s time to put Frosty together, I just used a glue gun to glue the balls together, if you want to add some extra strength, you may want to stitch some of the flowers together.
Lastly, time to give Frosty some personality! Use what you have or what you can find. I came across a wicker basket in the shape of Frosty’s hat and simply added some ribbon and holly I had lying around! I used beads for his eyes and buttons and an acorn for his nose! And there you have it, a golden, classy Frosty the Snowman!

