Full disclosure: I’ve never decorated Easter Eggs! Shocking, right? As someone who loves a good DIY, the Easter Egg has eluded me .. until now …
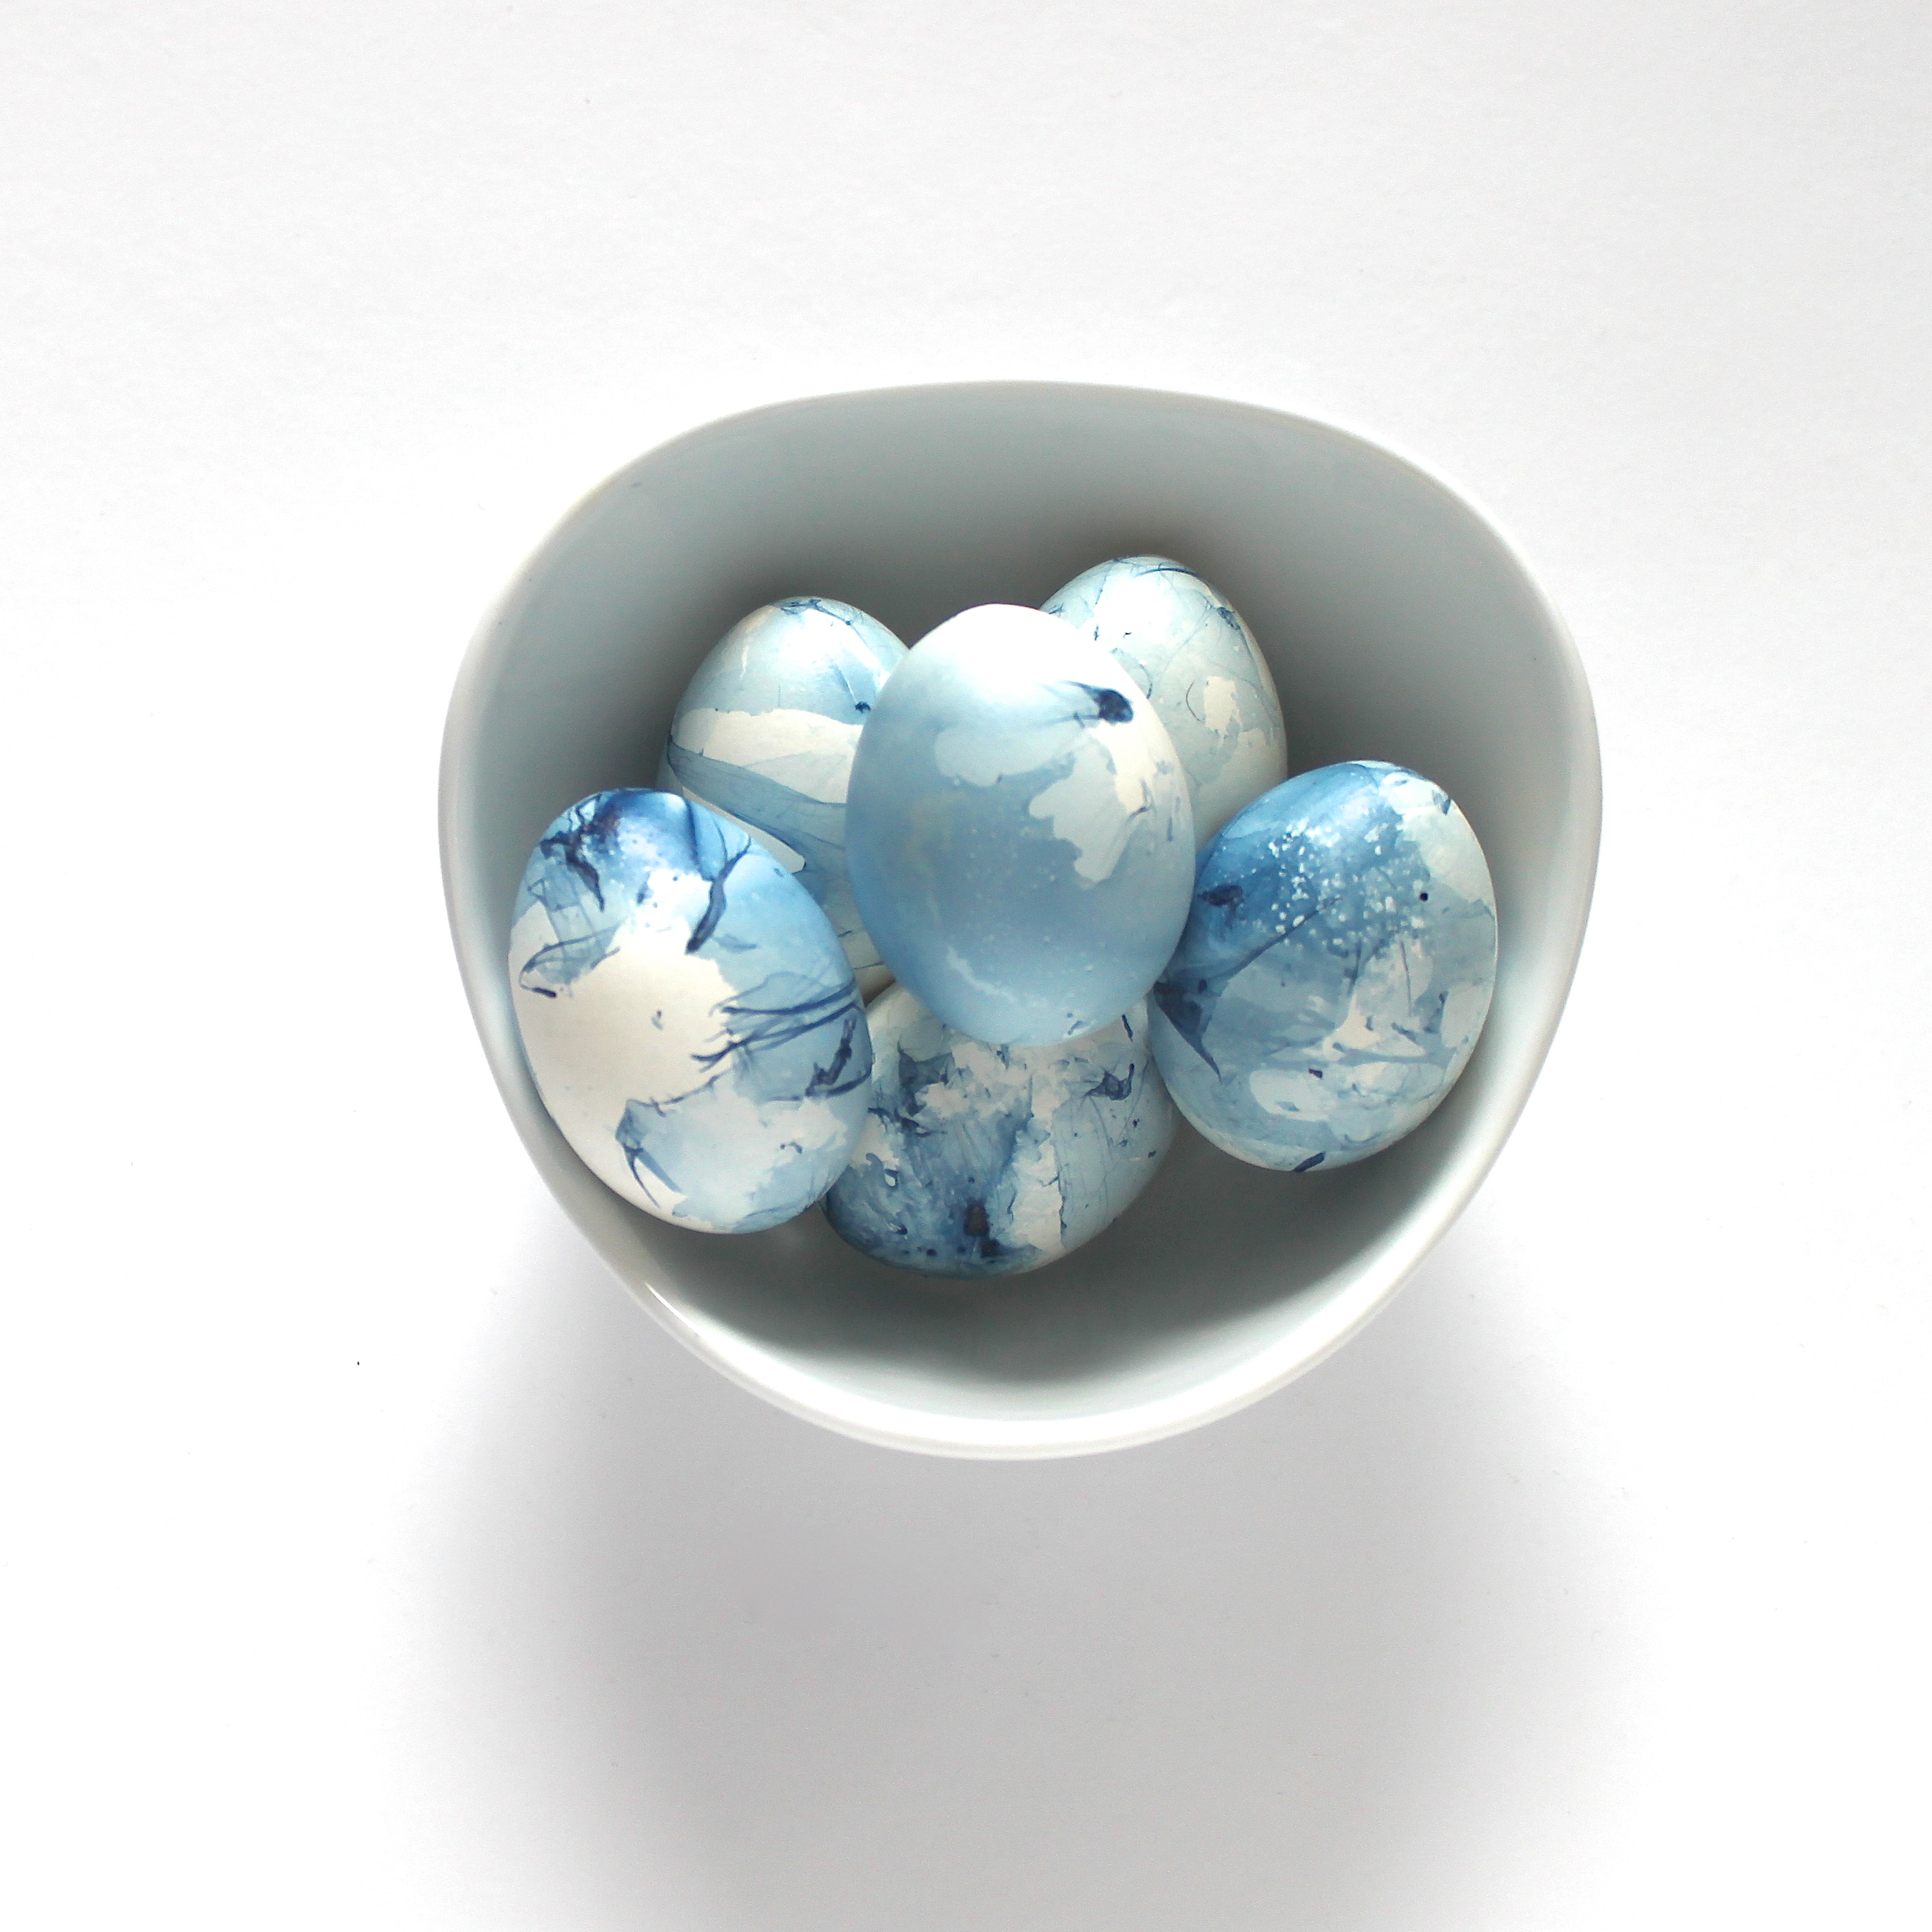
Over the last week, I’ve been seeing these gorgeous marbled Easter eggs, pop up all over my Instagram feed, which naturally peeked my curiosity. Imagine my excitement when I discovered a step by step tutorial by Alice & Lois! Now there was no excuse, I had to give this a go.
Result: Although the marbling technique can get messy and took me a few tries to nail, these marbled Easter eggs could not be easier to make. Decorating Easter eggs has officially become a part of my yearly Easter tradition!


Supplies
6 large, white hard boiled eggs
Indigo Blue Nailpolish
Disposable plastic container
Stir Stick
Rubber gloves
Wax paper
Directions
Fill your disposable container 3/4 full with room temperature water. If the water is too cold, the nail polish will sink to the bottom, you want it to float on top of the water. You’re better off having the water a little on the warmer side. It took me a couple attempts to get the water right.
Using rubber gloves, add a couple drops of the nail polish to the water and swirl with stir stick. Add an egg and continue to swirl until desired effect is achieved. Lay the eggs down on wax paper to dry. Continue with remaining eggs, adding a couple drops of nail polish with each egg.
What I love about this technique is that the eggs can be re-dipped once they’ve dried a little, so you can intensify the colour or modify how they look, it’s virtually fool proof! Enjoy!